
Last updated September 21, 2026
Free on-site gate assessment - hinges, posts, and your LiftMaster or Nice gate operator checked before anything is quoted
The assessment is free and the quote is the invoice.


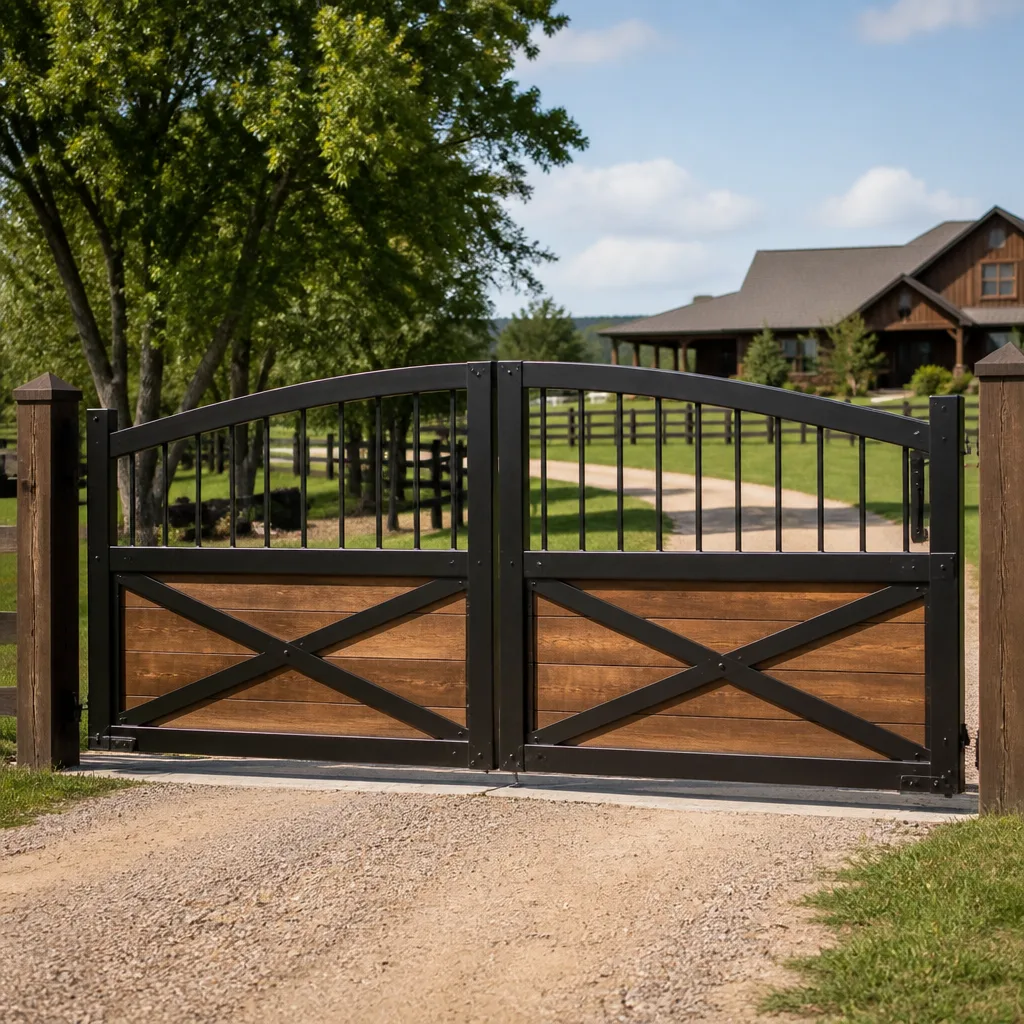
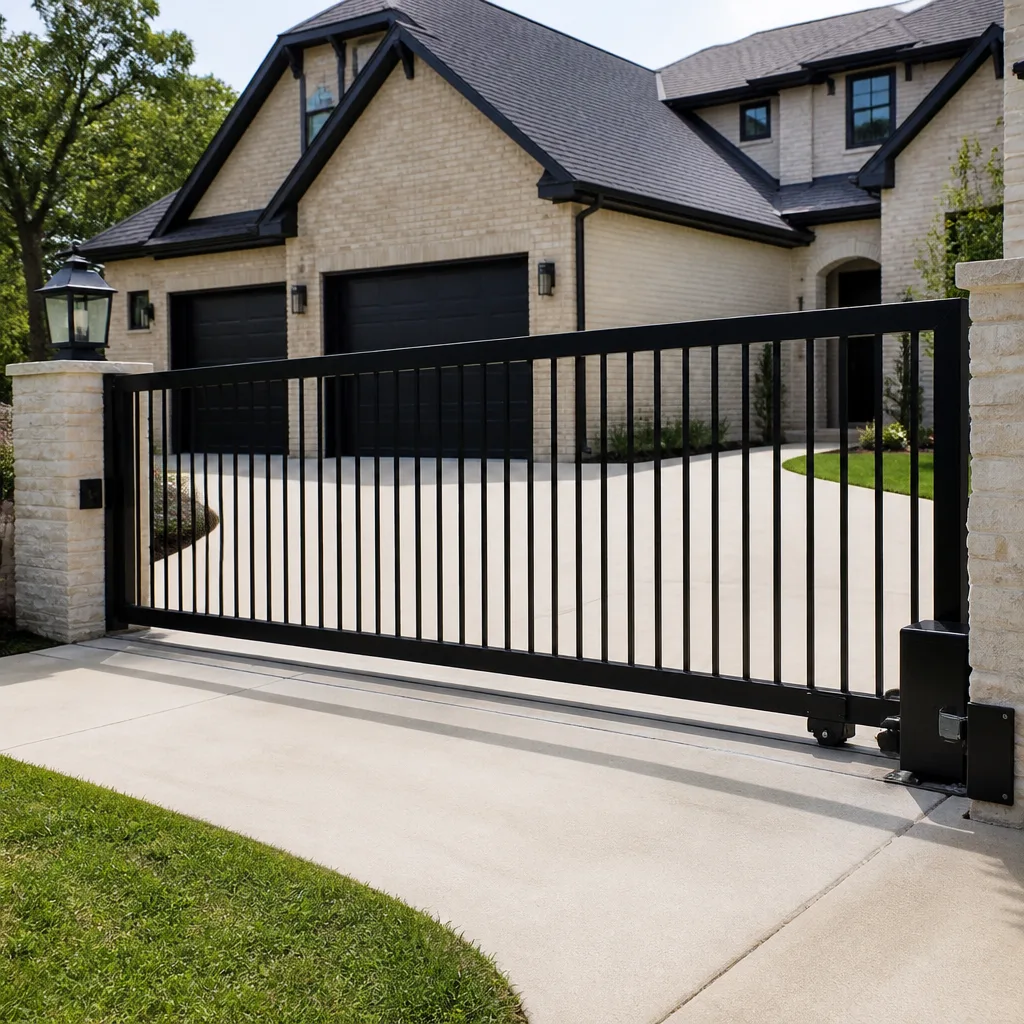
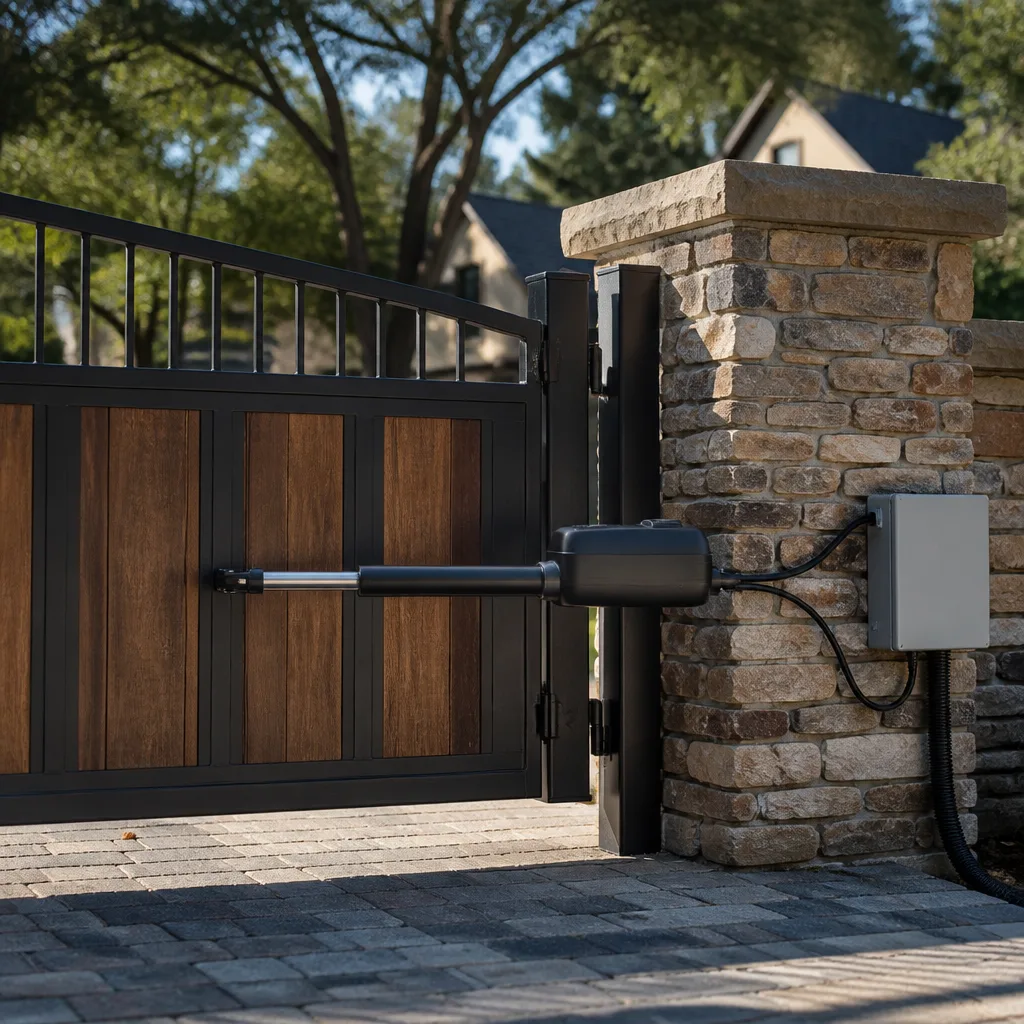
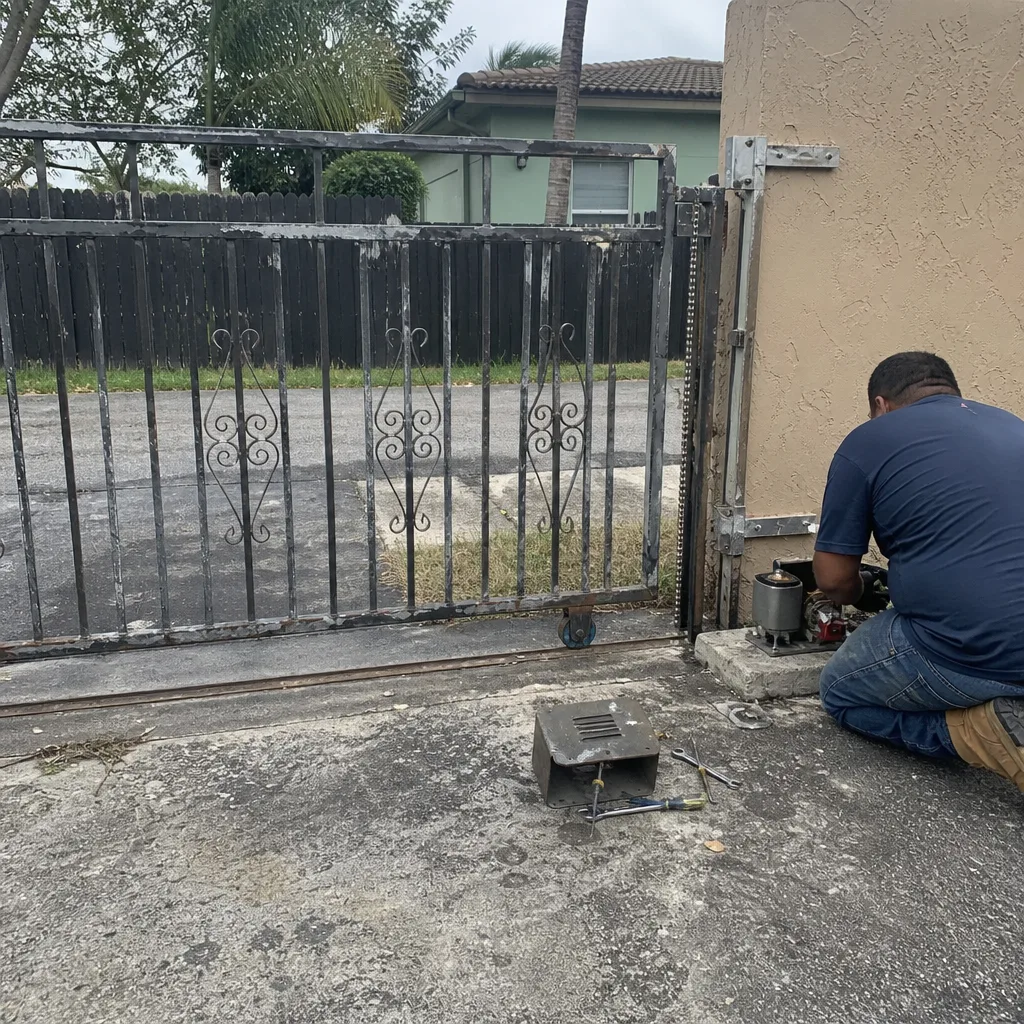 Before
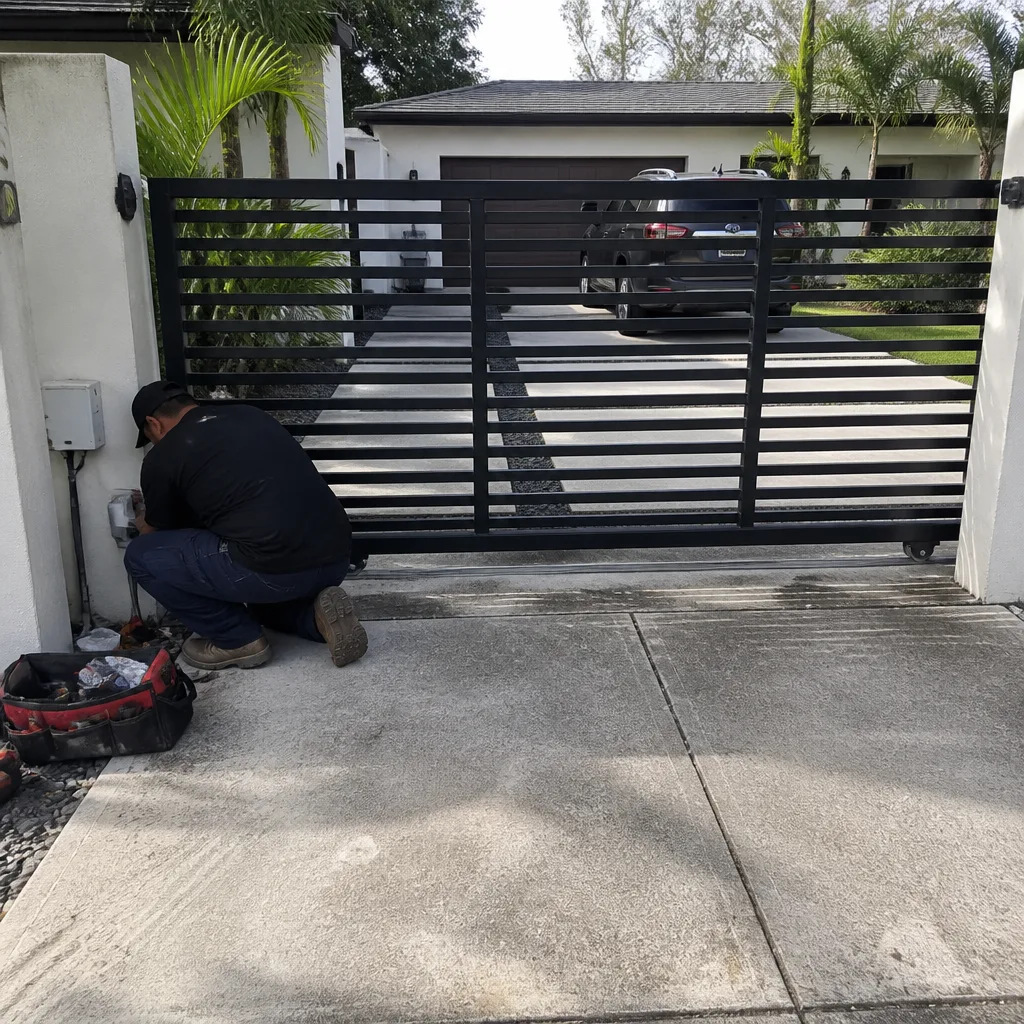 After
After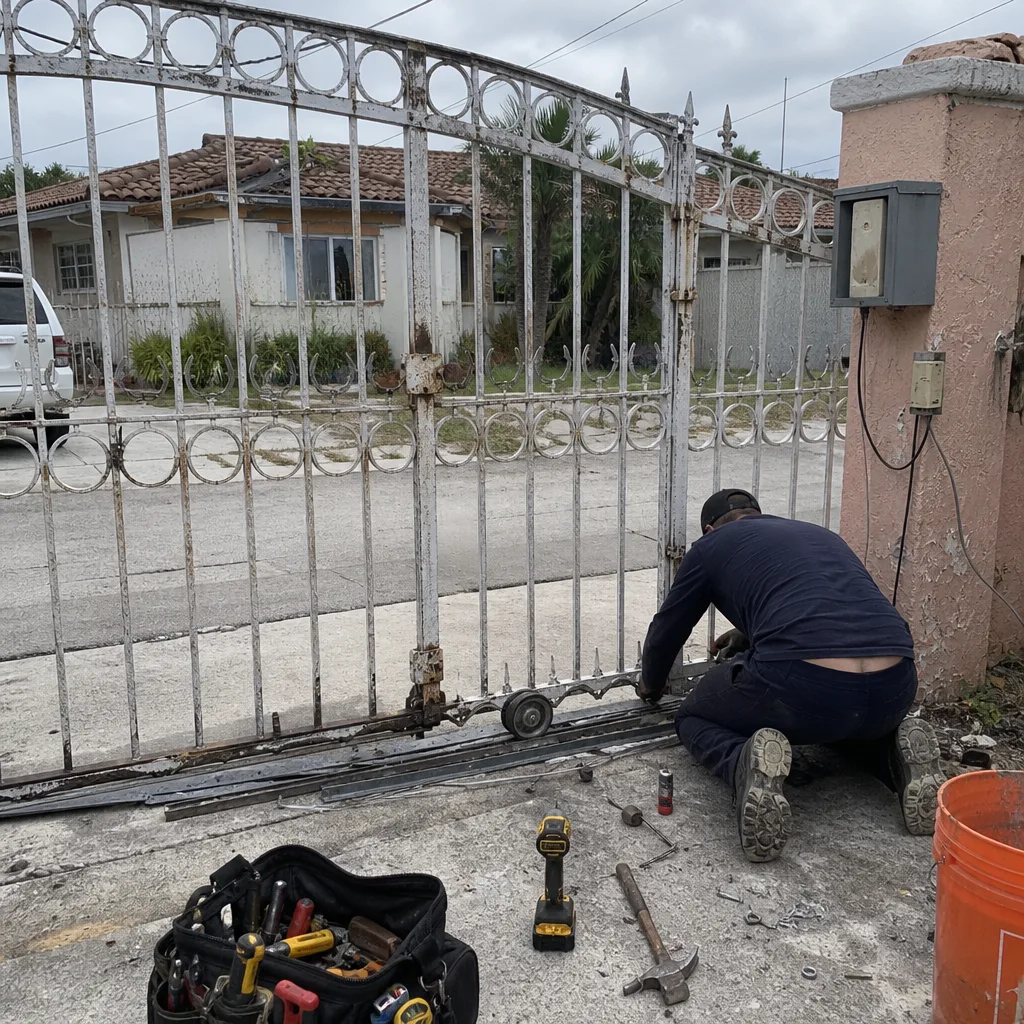 Before
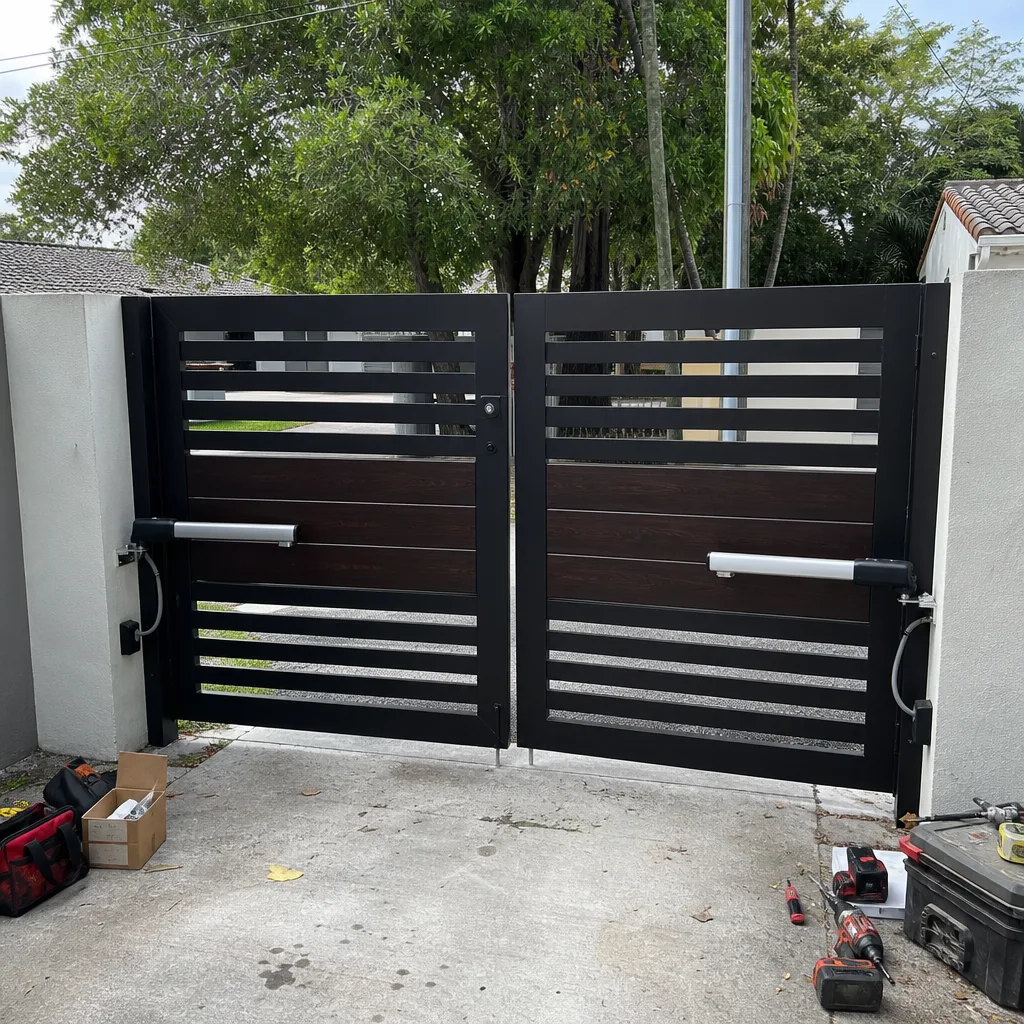 After
After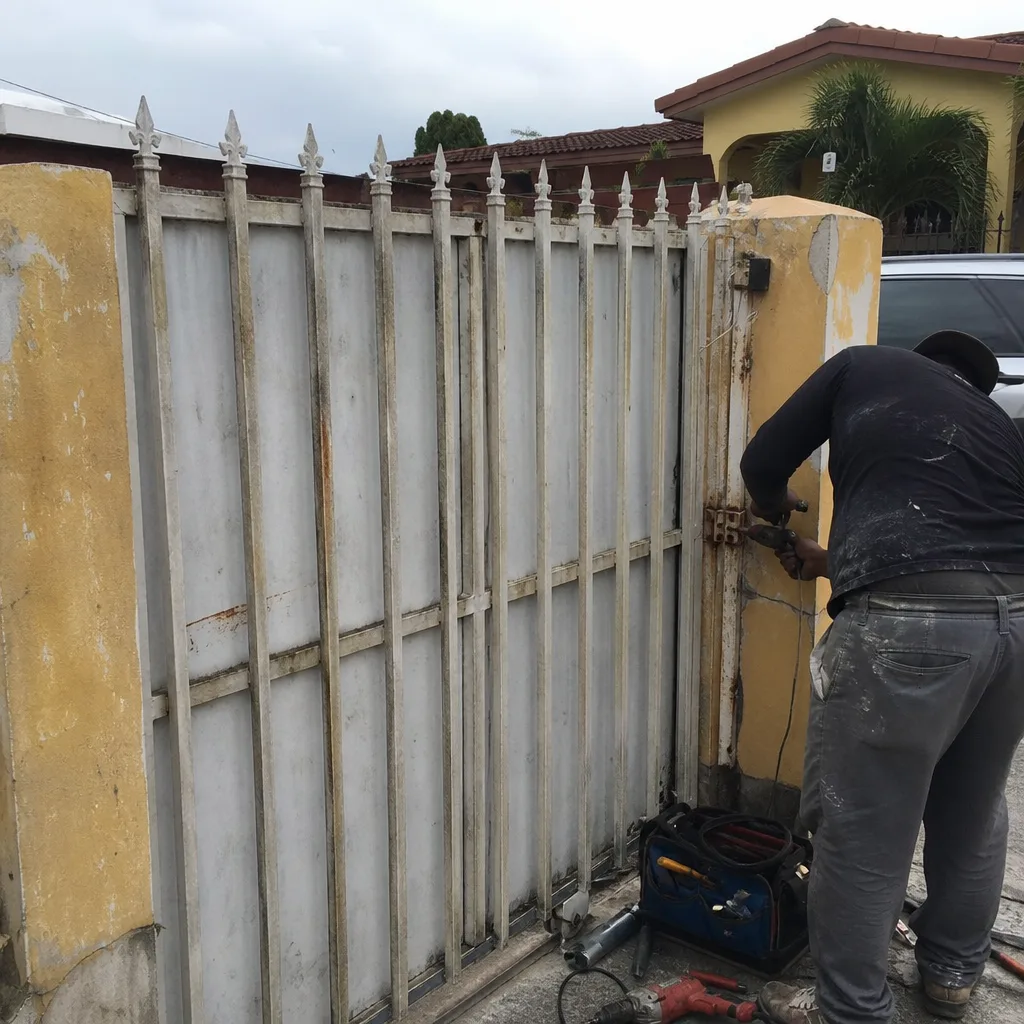 Before
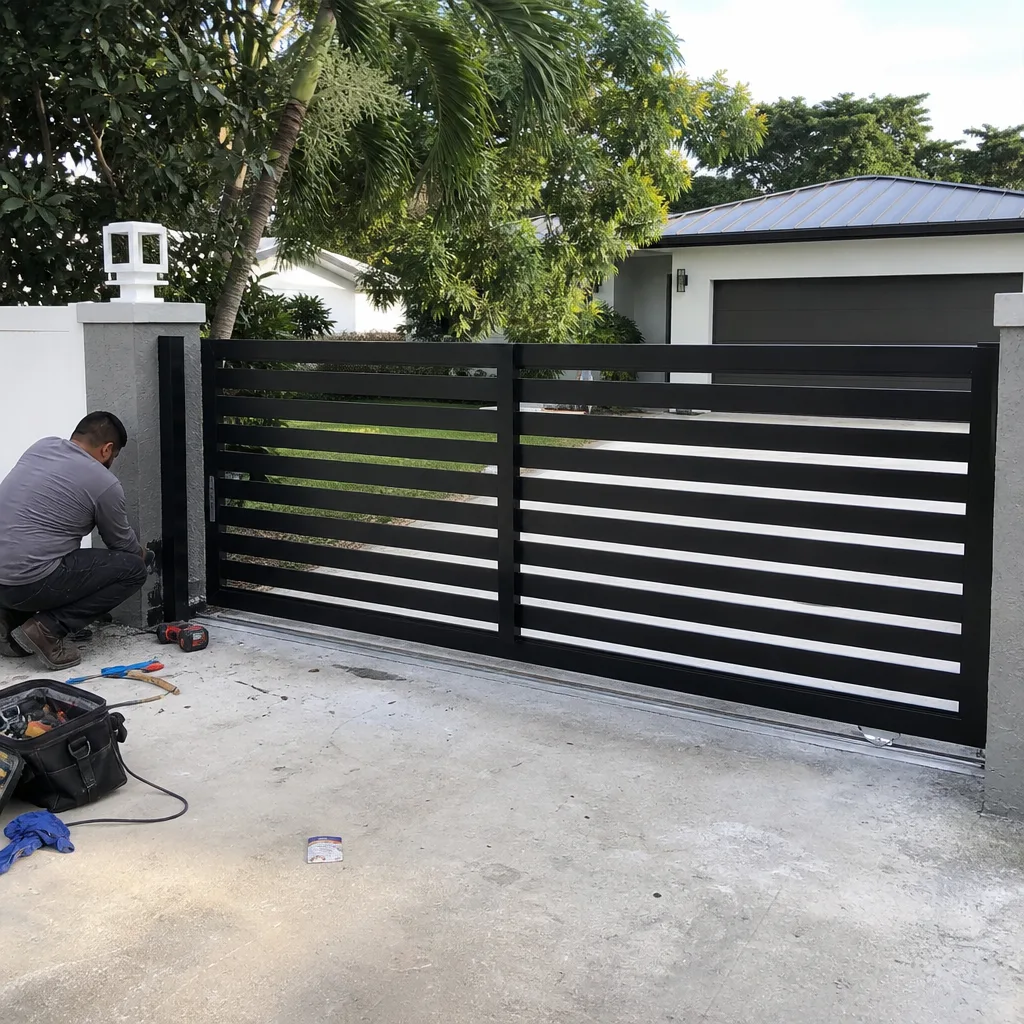 After
AfterGate Repair Maintenance Checklist for Miami Gardens Homeowners
Lubricating a gate hinge that’s already corroding at the weld seam is the maintenance equivalent of painting over rust. It looks done and changes nothing. In Miami Gardens, a maintenance checklist that ignores the specific failure sequence of South Florida gates is worse than no checklist at all because it gives you false coverage while the actual problems develop invisibly. This guide sequences maintenance the way failures actually happen here: corrosion first, then mechanical binding, then electrical fault. If you own a gate in Miami Gardens, you need a document that matches the environment, not a generic template printed for a dry climate.
Quick Answer
A gate maintenance checklist for Miami Gardens must prioritize corrosion inspection at weld seams and hinge points, followed by mechanical alignment checks, then electrical testing of limit switches, ground continuity, and control board voltage under load. The most effective maintenance program includes quarterly visual inspections, a documented photo baseline taken on the same angle and date each visit, and our Gate Repair services for any task involving high-tension springs, capacitors, or control board wiring. Most Miami Gardens gate failures are preventable when corrosion is caught before it reaches the point where the gate binds and the motor works against resistance.
Table of Contents
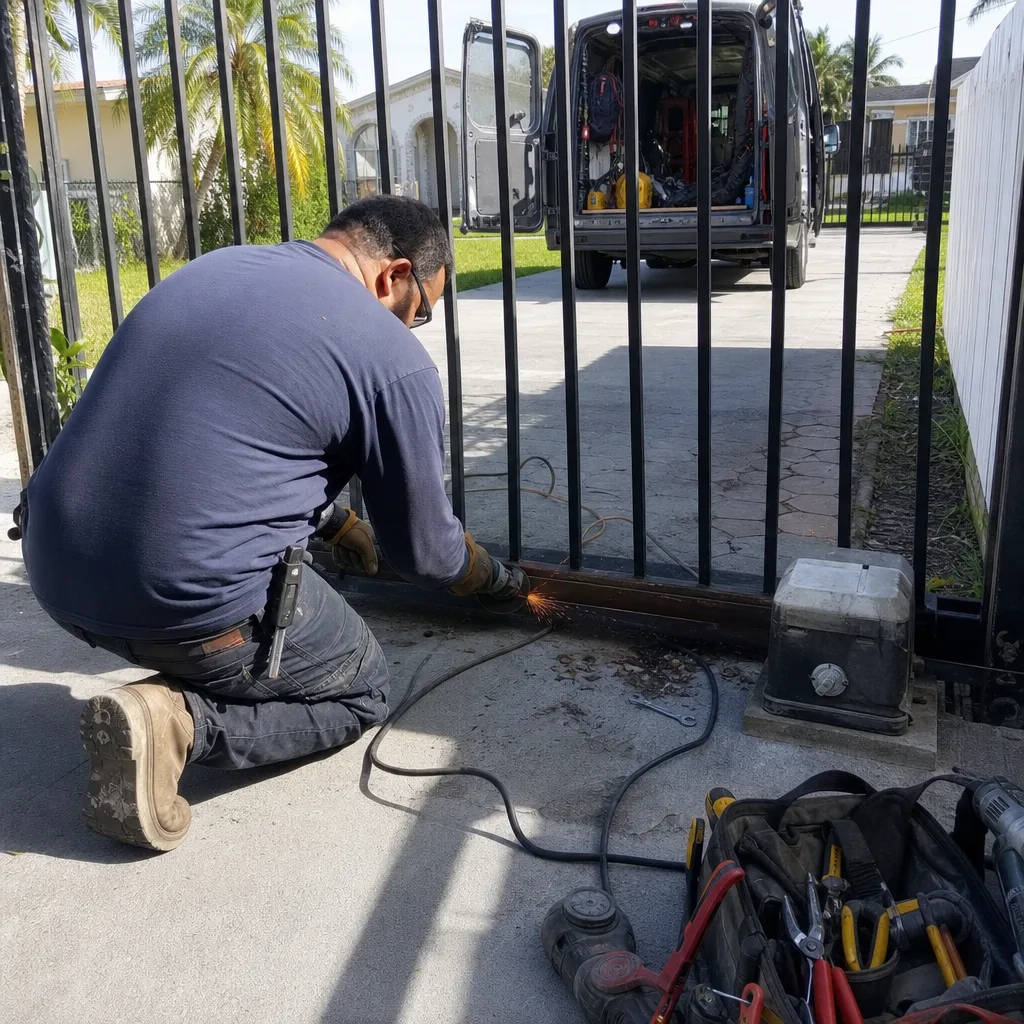
- Corrosion First: The Miami Gardens Inspection Protocol
- Mechanical Binding: What to Check After Corrosion
- Electrical Checks That Belong on Your List (But Never Appear on Generic Versions)
- Building a Photo Baseline: The Maintenance Habit That Predicts Failure
- What You Can Do Safely vs. What Needs a Documented Professional
- Maintenance Frequency Table by Gate Type and Cycle Count
- Common Mistakes to Avoid
- When to Call a Professional
- Frequently Asked Questions
- The Bottom Line
 Before
 After
AfterCorrosion First: The Miami Gardens Inspection Protocol
Miami Gardens sits at roughly 10 feet above sea level, and the humidity here averages above 70 percent for most of the year. Salt-laden air from the Atlantic, even eight miles inland, accelerates oxidation on any unprotected steel surface. Our technicians see gates in Miami Gardens that look structurally sound from the driveway but have lost 40 percent of their metal thickness at the bottom rail, hidden behind a layer of flaking paint.
Your corrosion inspection should follow a specific sequence. Start where water pools, not where rust is visible. Here is the order we use on every gate we service in Miami Gardens:
- Bottom rail and lower hinge plates. Water runs down and sits here. Tap the rail with a rubber mallet. A dull thud instead of a metallic ring means internal corrosion has begun. Look for bubbling paint, which indicates rust expanding underneath the coating.
- Weld seams, especially at the picket-to-rail junction. Welds on powder-coated gates often fail first because the coating is thinnest at the seam. Early oxidation appears as a fine orange-brown dust at the seam edge, not as visible flaking.
- Hinge barrels and pivot points. Remove the hinge cap if one exists. Look for red-brown powder inside the barrel. This is where a gate binds first, and binding is what destroys motors over time.
- Fastener heads. Zinc-plated screws and bolts on gate hardware begin showing white powdery residue, called white rust, within 18 to 24 months in Miami Gardens humidity. Replace them before the heads strip.
- Bottom of the gate posts. Posts set in concrete are vulnerable at the concrete-to-steel interface. Look for a rust line forming right at that junction. If you can scrape away more than surface oxidation with a flathead screwdriver, the post needs professional evaluation.
What early oxidation looks like in Miami Gardens specifically: a fine, chalky orange dust at weld seams, small paint blisters no bigger than a pencil eraser on the bottom rail, and a slight roughness on the underside of hinge plates. If you catch it at this stage, you can wire-brush, prime, and repaint the affected area before the steel loses any meaningful thickness. If you wait until the paint flakes off in sheets, you are usually looking at section replacement rather than surface treatment. That difference is often the difference between a $150 touch-up and a $2,400 section rebuild.
Mechanical Binding: What to Check After Corrosion
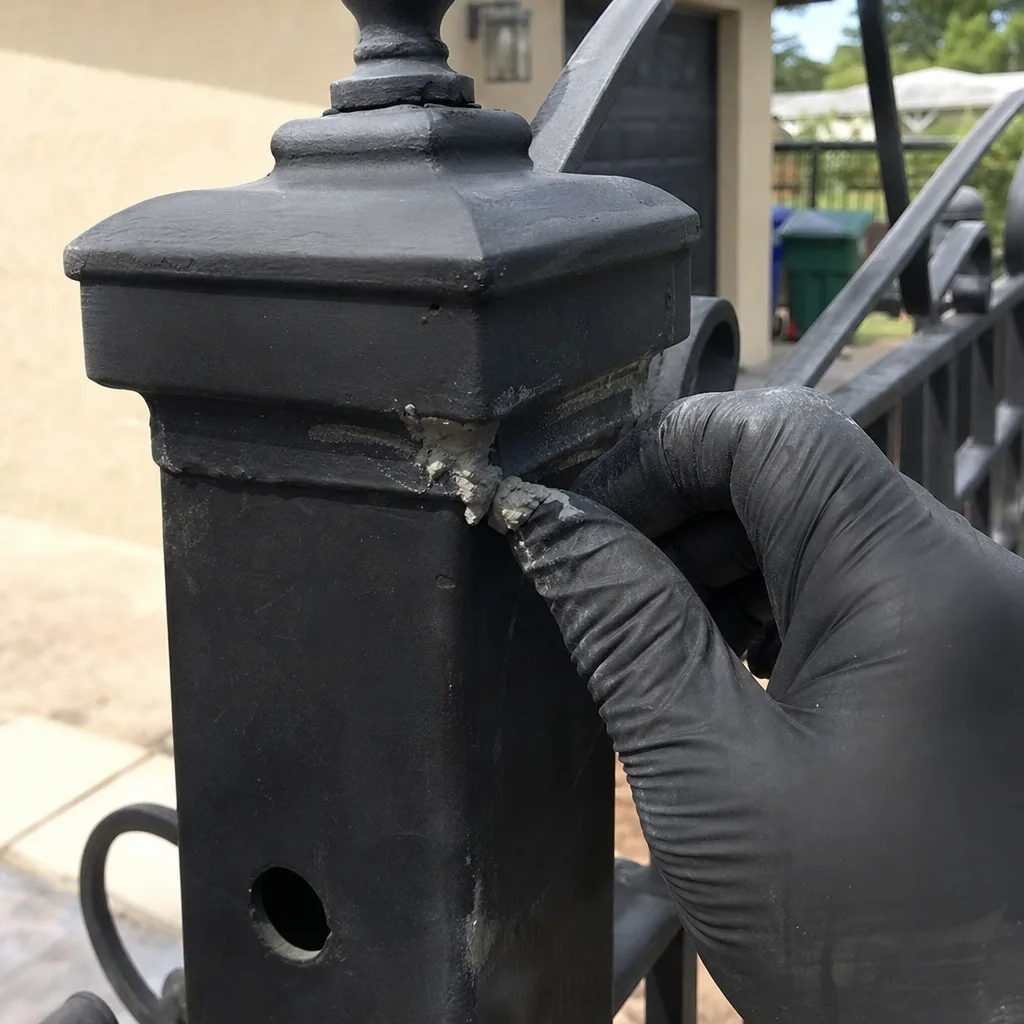
Corrosion does not just eat steel. It changes geometry. A hinge that has begun to oxidize develops friction. Friction forces the gate to work harder. The motor compensates by drawing more current, which shortens its life, overheats the control board, and eventually fails. In Miami Gardens, where corrosion starts early and moves fast, mechanical binding is the bridge between a cosmetic problem and an electrical failure.
When we evaluate a gate for mechanical binding during maintenance, here is what we check, and what you should look for between professional visits:
- Manual operation feel. Disconnect the operator (if you know how to do this safely on your model) and push the gate by hand. It should move smoothly with consistent resistance. Any point where it catches, hesitates, or requires extra effort is a binding point.
- Gate level. A gate that has dropped even a quarter inch will bind on the latch or drag on the ground. Place a level on the top rail. In Miami Gardens, soil compaction under gate posts can cause a drop within two years of installation, especially after heavy hurricane-season rains.
- Track and roller condition (slide gates). Rollers wear on the bottom edge first. Run your hand along the track. Any roughness, pitting, or flat spots on the rollers means replacement is near.
- Hinge pin wear. Grab the gate near the hinge side and lift. Movement of more than an eighth of an inch indicates worn hinge pins or elongated hinge barrels.
- Chain or belt tension (if applicable). A loose chain is a symptom, not a root cause. If the chain has loosened since installation, something shifted. Tightening without finding the shift means you will be back under the gate in six months.
The most common binding point we find in Miami Gardens is the lower hinge on the gate’s pull side. That is the hinge that carries the most weight when the gate opens, and it is also the hinge most exposed to water run-off. If you check nothing else mechanically, check that one. A misaligned gate that runs on a LiftMaster or BFT operator will eventually destroy the motor’s internal gear train. Motors are not designed to overcome chronic friction. They are designed to move a balanced load.
Electrical Checks That Belong on Your List (But Never Appear on Generic Versions)
Most maintenance checklists tell you to check the battery and test the remote. That’s the shallow end. The gate motor is the easy part. The control board, limit switches, ground continuity, and the condition of the wiring between the board and the motor are where Miami Gardens gates actually fail, and almost no maintenance guide tells you to look there.
If you are comfortable with a multimeter and understand basic low-voltage wiring, here are the checks we perform on every maintenance visit. If you are not comfortable, skip to the section below on homeowner vs. professional tasks. The point here is to show you what a complete electrical check actually covers:
- Limit switch travel distance. Open the operator housing and mark where the limit switch stops the gate travel. Compare it to the physical full-travel distance. In our experience, limit switches drift over time from vibration and corrosion at the switch contacts. A switch set 12 degrees past full travel forces the motor to stall against the stop every single cycle. That stall current is what burns out control board relays.
- Ground wire continuity. Test resistance from the operator chassis to the ground wire at the control board. In Miami Gardens, ground wires corrode at the point where they enter the earth. A high-resistance ground (anything above 1 ohm) means the electrical system is not fault protected, and that is a safety issue, not just a performance issue.
- Control board voltage under load. Measure voltage at the board input while the gate is running. Voltage sag under load indicates a marginal transformer or a corroded connection upstream. We routinely see boards in Miami Gardens that read full voltage at rest and drop below 22 volts on a 24-volt system the moment the motor engages. That sag causes intermittent faults that look like board failure but are really power supply failure.
- Photo-eye alignment and lens condition. The photo-eye is the infrared beam that stops the gate if something crosses the path. Clean the lens with a dry cloth. Test the beam by blocking it while the gate closes. Any hesitation, delay, or failure to reverse means the sensor is misaligned or the lens is clouded by UV exposure. In Miami Gardens, UV degradation of the plastic lens is common within three years.
- Capacitor inspection. The start capacitor on single-phase gate motors is a common failure point in humid climates. Look for swelling, cracking, or oil seepage at the capacitor housing. If you see any of these, replace the capacitor before it fails and takes the motor with it.
A gate that runs on a FAAC or Elite operator in a Miami Gardens neighborhood with older underground conduit will often have wiring problems before motor problems. The motor is a dumb device. The wiring, the limits, and the board are the system. Maintain the system, and the motor will usually outlast the warranty.
Building a Photo Baseline: The Maintenance Habit That Predicts Failure
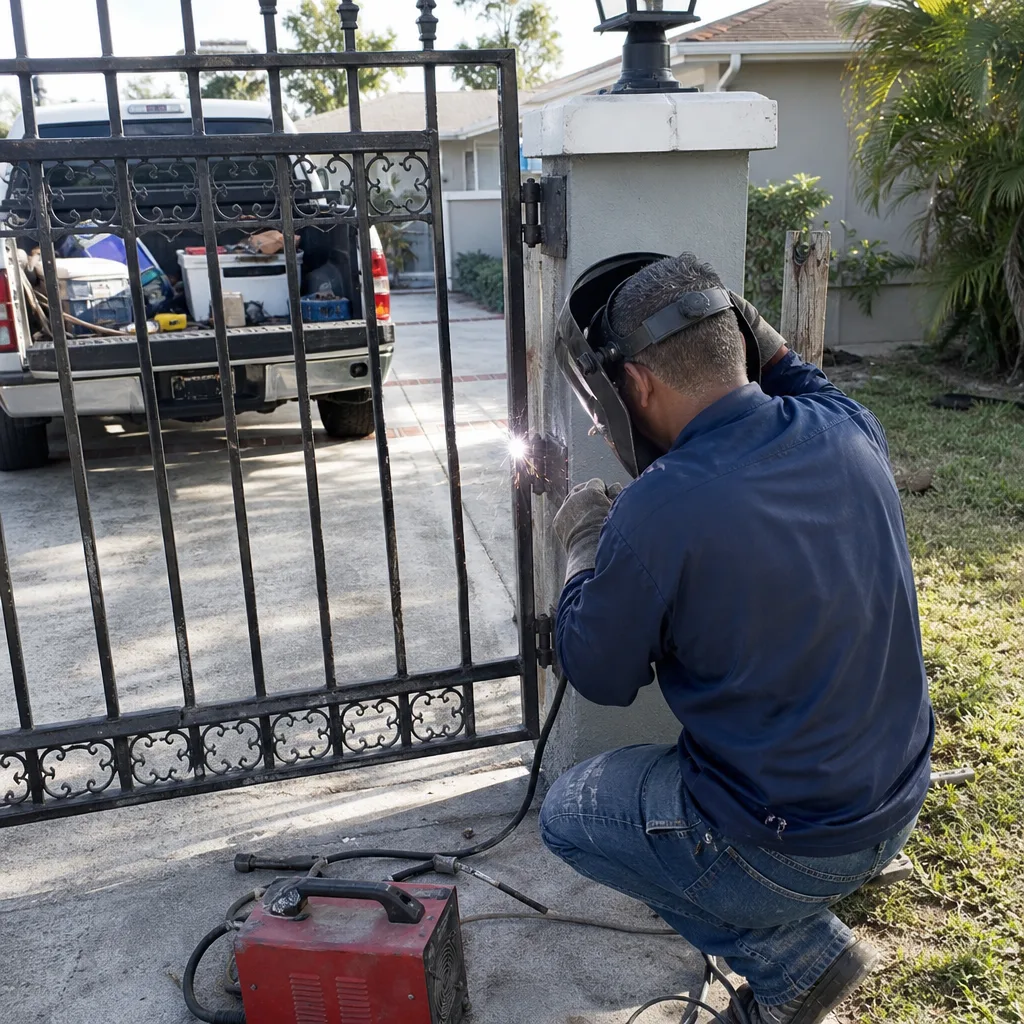
When we first started documenting gate condition on commercial access-control sites in 2014, the purpose was simple: prove what we found and what we left behind. Over time, that documentation habit proved to be the single most useful maintenance tool we had. A photo baseline changes maintenance from a reactive guess into a measurable comparison.
The concept is straightforward. Once every quarter, take the same set of photographs from the same angles. Over a year, you build a visual record that shows change over time. Rust progression shows up as a spreading stain. Gate sag shows up as a changing gap between the gate and the post. Wire insulation degradation shows up as color change. None of these are visible from memory, but they are obvious when you lay two photos side by side.
Here is the photo protocol we recommend to every Miami Gardens homeowner, adapted from the documentation standard we use on every job:
- Standing straight-on view of the full gate, closed. Take this from the same spot every time. Use a fixed reference point, like the edge of the driveway or a fence post.
- Close-up of the lower hinge on the pull side. Get within 12 inches. This is the single most failure-prone component on any gate in Miami Gardens.
- Close-up of the bottom rail at the center and at both ends. Water pools in these three spots.
- Operator housing with the cover open. Photograph the board, the capacitor, and the wiring terminations. Do not touch anything. This is about visual inspection only.
- Gate-to-post gap at the top and bottom, hinge side and latch side. Measure the gap with a ruler, and include the ruler in the photo.
- Track and roller condition on slide gates, top and bottom. Get low enough to see the contact surface.
Six photos, once per quarter, takes about ten minutes. Store them in a folder on your phone labeled by date. After a year, you have a record that will show you exactly what is changing and how fast. When a technician tells you something needs replacement, you can look at your own baseline and see the progression. That is the difference between trusting an opinion and verifying a fact. We do this at Vance Gate Repair Miami Gardens home because a documented record means no future technician has to guess and no homeowner pays twice to rediscover the same problem.
What You Can Do Safely vs. What Needs a Documented Professional
The honest answer here is that most gate maintenance tasks split cleanly into two categories: things you can observe and clean, and things that require tools, training, and a multimeter. The line between them is not about competence. It is about what happens when the task goes wrong.
Homeowner tasks that are safe and valuable:
- Quarterly visual inspection using the photo baseline protocol above. No tools, no risk. This is the highest-value maintenance task you can perform.
- Hinge lubrication. Use a dry silicone spray, not a wet oil. Wet oils attract dust and grit, which accelerates hinge wear. Apply sparingly at the hinge barrel, wipe the excess, and work the gate back and forth a few cycles.
- Photo-eye lens cleaning. A dry microfiber cloth is sufficient. Do not use glass cleaner or any solvent, which can cloud the plastic lens.
- Track and roller cleaning on slide gates. Remove leaves, dirt, and grass clippings from the track. Debris in the track acts as an abrasive paste when the rollers pass over it.
- Paint touch-up on accessible surfaces. Wire brush the rust spot, apply a rust-converting primer, then paint with a matching exterior-grade coating. This is the one DIY task that genuinely extends gate life in Miami Gardens.
Tasks that require a professional, and why:
- Anything involving the high-tension springs, cables, or torsion assembly on a counterweighted gate. These components hold stored energy. A cable failure under tension can cause serious injury. Do not attempt to adjust, replace, or even remove these yourself. A trained technician knows how to release the stored energy safely.
- Opening the operator housing of any gate motor. The capacitor inside can hold a charge even with the power disconnected. Discharging a capacitor incorrectly can lead to a serious electrical shock. If you are not trained, do not open the housing.
- Any wiring repair at or near the control board. Low-voltage systems are not low-risk when wired incorrectly. A short at the board can damage the board, the transformer, and potentially the motor.
- Gate sag or post lean correction. This is not a hardware replacement. It is a geometry problem. DIY fixes like shimming hinges or adjusting the latch temporarily correct the symptom while the underlying post movement continues. You need a professional with a level, a jack, and the experience to know whether the post can be reset or needs replacement.
- Motor replacement or major electrical work. In Miami Gardens, any electrical work on a gate system must be done to code. A documented professional handles the power run, the grounding, and the safety edges correctly the first time. For this kind of work, we refer people to our Gate Motor & Opener in Miami Gardens service page, which covers the full scope of what a documented replacement involves.
The boundary we draw, and the one we recommend to you, is simple: if the task involves stored energy, electrical current, or the structural alignment of the gate, call a professional. If it involves cleaning, observing, lubricating, or photographing, you can do it yourself.
Maintenance Frequency Table by Gate Type and Cycle Count

Most maintenance schedules are one-size-fits-all, and that is why they fail. A lightweight aluminum driveway gate that cycles four times a day has a completely different maintenance profile than a heavy steel gate on a busy Miami Gardens property that cycles forty times a day. The cycle count is the variable that matters most.
Here is a maintenance frequency table calibrated to gate type, weight, and daily cycle count. Use this as your baseline, and adjust up if you notice corrosion accelerating or hear any change in gate operation:
- Light swing gate (aluminum or hollow steel), fewer than 10 cycles per day: Visual inspection and photo baseline quarterly. Hinge lubrication every 6 months. Professional inspection annually. Paint touch-up as needed, typically every 18 to 24 months in Miami Gardens.
- Medium swing gate (steel, 10 to 25 cycles per day): Visual inspection and photo baseline quarterly. Hinge lubrication every 3 months. Professional inspection every 6 months. Electrical check every 12 months.
- Heavy swing gate (steel or wrought iron, over 25 cycles per day): Visual inspection monthly. Photo baseline quarterly. Hinge lubrication monthly. Professional inspection quarterly. Electrical check every 6 months.
- Slide gate, any weight, fewer than 10 cycles per day: Track cleaning monthly. Visual inspection and photo baseline quarterly. Roller inspection every 6 months. Professional inspection annually.
- Slide gate, over 10 cycles per day: Track cleaning weekly. Visual inspection monthly. Roller inspection quarterly. Professional inspection every 6 months. Electrical check every 6 months.
- Cantilever gate (no ground track): Visual inspection quarterly. Bearing inspection every 6 months. Professional inspection annually. These gates are more resistant to debris but more sensitive to bearing wear.
If your gate is on a property near the Golden Glades interchange or in the residential streets off NW 183rd, you may deal with more debris from traffic and more standing water after heavy rain. Adjust your track cleaning and corrosion inspection frequency up accordingly. Cycle count matters more than anything else. A gate that opens and closes fifty times a day will wear out its moving parts five times faster than a gate that cycles ten times a day, regardless of how well it is maintained.
Common Mistakes to Avoid
- Lubricating a hinge before inspecting the weld seam beneath it. Lubricant hides the evidence of corrosion and lets the binding continue invisibly. Inspect first, lubricate only after you have confirmed the hinge is structurally sound.
- Using WD-40 or penetrating oil on hinges and rollers. These products are solvents that strip lubrication and attract dust. In Miami Gardens humidity, that dust becomes an abrasive paste that accelerates wear. Use dry silicone spray on hinges and a dry lubricant made for rollers.
- Ignoring a gate that still opens and closes, even when it sounds different. A change in sound is the earliest warning of a mechanical problem. A grinding squeak at a hinge means metal-on-metal contact. A straining motor sound means increased load. Neither is normal, and both will only get worse.
- Painting over rust without treating the metal first. Paint seals rust in and lets it continue underneath. The gate will look fine from six feet away while the steel rots from the inside. Wire brush, treat with a rust converter, then prime and paint.
- Replacing the motor without diagnosing the mechanical binding that killed it. The new motor will fail the same way for the same reason. We have seen Miami Gardens homeowners go through two motors before realizing the lower hinge was the problem all along.
- Skipping the ground wire inspection because it is underground. The ground wire is a safety device. In South Florida soil, it corrodes at the point of contact with the earth. A compromised ground can mean the difference between a board failure and a serious electrical hazard. If you do not know how to test ground continuity, include it in your professional inspection.
- Following a maintenance schedule written for a different climate. A checklist written for Arizona will not include rust inspection as the first item, but rust is the first thing that fails here. Miami Gardens requires a corrosion-first maintenance sequence. Anything else is rearranging deck chairs.
When to Call a Professional
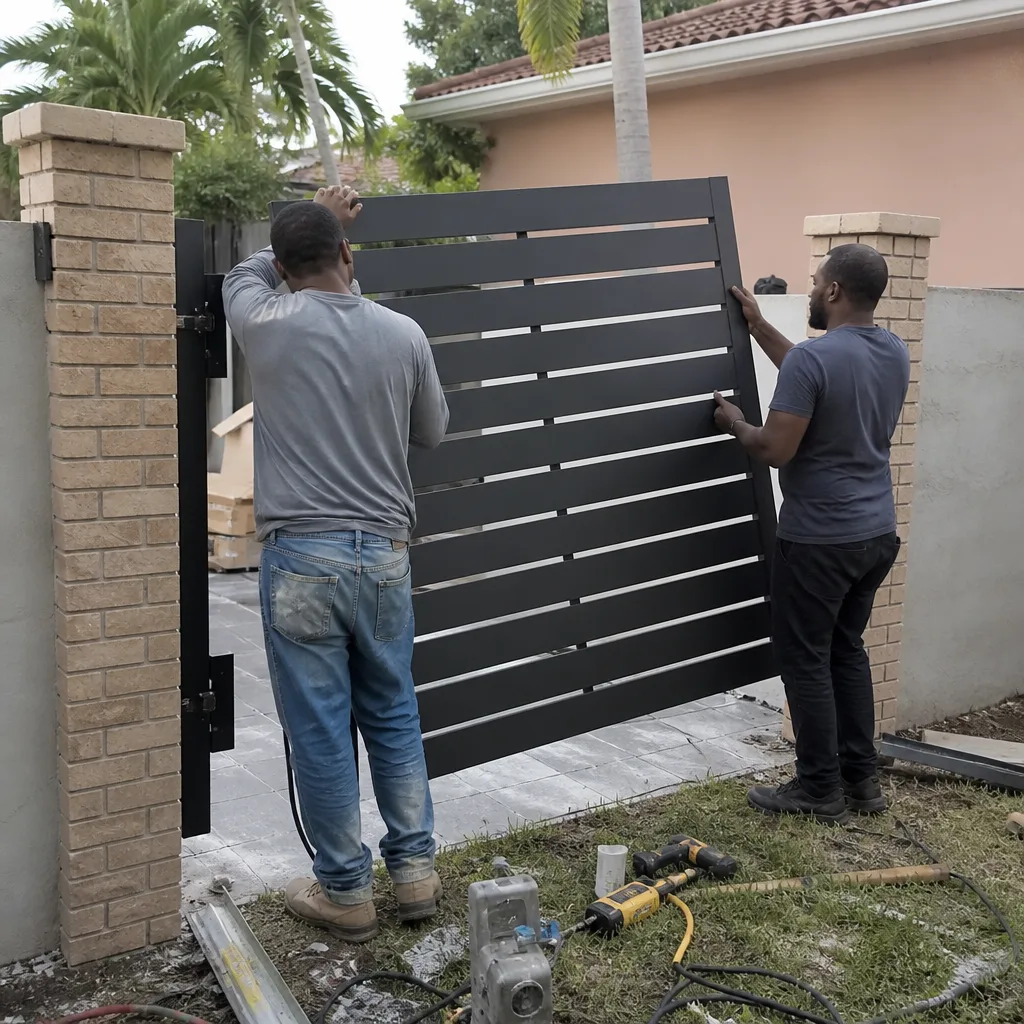
Call a gate professional when you find corrosion that has penetrated beyond surface level, when the gate binds during manual operation, when the gate sags visibly at the latch side, when the motor strains or stalls, when a capacitor shows any sign of swelling, or when the gate does not reverse when the photo-eye beam is blocked. These are not maintenance items. They are repair conditions, and they require tools, parts, and documentation. If you hear grinding at the rollers, see exposed steel at the bottom rail, or find that the gate has to be lifted to close, do not lubricate it and hope. The problem has already progressed. Gate Repair in Miami Gardens is our core service, and the work begins with a written diagnosis before any tool touches the gate. Vance Gate Repair Miami Gardens offers free estimates in Miami Gardens, call (786) 789-0087.
Frequently Asked Questions
Professional gate maintenance in Miami Gardens typically runs between $120 and $280 per visit, depending on whether the work includes electrical testing, parts replacement, or corrosion treatment. A simple lubrication and inspection visit is at the lower end. A full service that includes limit switch adjustment, ground continuity testing, and board voltage reading is at the higher end. A full replacement, such as a new installation, costs significantly more and gets quoted separately; for details on permits, see Gate Repair Permits, Codes & Inspections in FL: What You Need to Know. For exact pricing, call (786) 789-0087 for a free estimate in writing before any work begins.
Corrosion at the lower hinge and bottom rail is the most common gate failure we see in Miami Gardens. The humidity and salt-laden air create oxidation at weld seams within two years of installation, and that corrosion causes binding, which then destroys the motor. The second most common failure is limit switch drift, which causes the motor to stall against the stop and burn out control board relays.
Lubricate swing gate hinges every 3 to 6 months, depending on cycle count and exposure. A gate that cycles more than 25 times per day should be lubricated monthly. Use a dry silicone spray, never a wet oil, and always clean the hinge with a dry cloth before applying fresh lubricant. Lubricating over dirt and old grease is worse than not lubricating at all.
Yes for observation, cleaning, lubrication, and paint touch-up. No for any task involving high-tension springs, electrical components, capacitor discharge, gate sag correction, or post realignment. These tasks carry real risk of injury and property damage when done incorrectly. The safest approach is to handle the visual and cleaning tasks yourself and schedule a professional electrical and mechanical inspection annually. For new gate work, see Gate Installation in Miami Gardens to understand what a full installation includes.
Photograph the full gate, the lower hinge on the pull side, both ends and center of the bottom rail, the operator housing interior, the gate-to-post gap with a ruler, and the track and roller surfaces on slide gates. Take these six photos from the same angles every quarter. The photo record is your baseline for detecting change over time and your evidence if a repair claim ever needs to be verified.
In Miami Gardens, premature motor failure is almost always caused by mechanical binding that forces the motor to work against resistance. The binding usually comes from corrosion at the hinges, a sagging gate, or worn rollers. Fix the mechanical problem, then replace the motor. A motor replacement without a mechanical diagnosis is a temporary repair. We service Mighty Mule, LiftMaster, Elite, and FAAC operators, among others, and the diagnostic process is the same: find the binding first, replace the component second.
A properly maintained steel gate in Miami Gardens should last 15 to 20 years before structural replacement, with hardware replacement at 7 to 10 years and motor replacement at 8 to 12 years. A neglected gate may need section replacement within 8 years and motor replacement within 5. The difference is almost entirely corrosion management in the first three years, before the oxidation reaches structural significance.
The Bottom Line
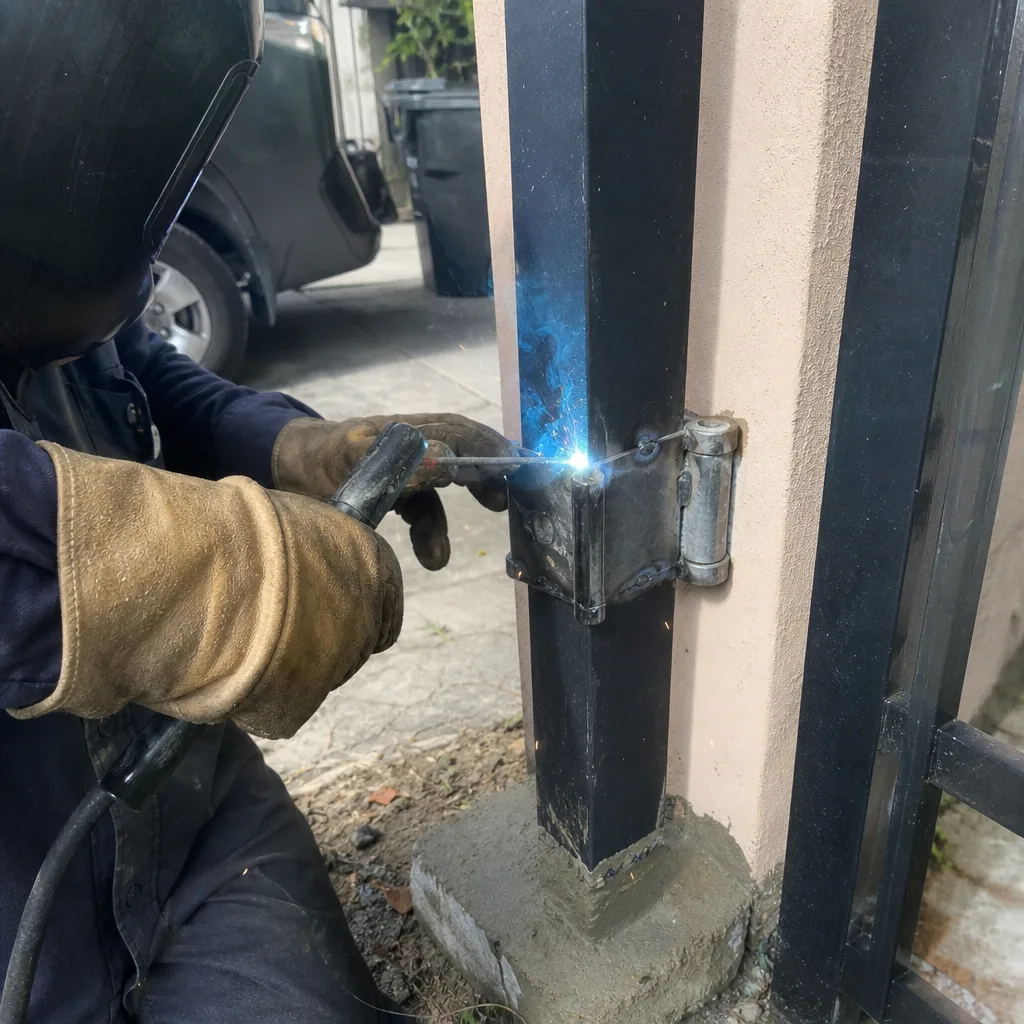
A gate maintenance checklist that works in Miami Gardens starts with corrosion because corrosion is the first link in the chain of failures that ends with a burned-out motor and a gate that will not move. Inspect the weld seams, the lower hinges, and the bottom rail first. Check mechanical binding second. Test the electrical system third, with attention to limit switches, ground continuity, and voltage under load. Build a photo baseline four times a year and keep it. Handle cleaning, lubrication, and observation yourself, and call a professional for anything with stored energy, electrical current, or structural motion. The gate that lasts 20 years in Miami Gardens is not the one that gets fixed when it breaks. It is the one that gets inspected before it can.
Contact Vance Gate Repair Miami Gardens at (786) 789-0087 for a free estimate. The price is written and handed to you before any work begins, and every visit leaves a documented record of what was found, what was adjusted, and what was installed.
Written by Adrian Vance, Owner at Vance Gate Repair Miami Gardens, serving Miami Gardens since 2014. Explore more guides & resources on gate maintenance and repair.